Stable Diffusion configuration testing

Interactive guide to Stable Diffusion "steps" parameter
How to adjust inference/sampling steps in Stable Diffusion
Generally speaking, the more steps you use, the better quality you'll achieve. But you shouldn't set steps as high as possible. It's all about the results you are trying to achieve.
First, let's briefly introduce the steps parameter in Stable Diffusion and diffusion models in general. Diffusion models are iterative processes – a repeated cycle that starts with a random noise generated from text input. With each step, some noise is removed, resulting in a higher-quality image over time. The repetition stops when the desired number of steps completes.
Around 25 sampling steps are usually enough to achieve high-quality images. Using more may produce a slightly different picture, but not necessarily better quality. In addition, the iterative nature of the process makes generation slow; the more steps you'll use, the more time it will take to generate an image. In most cases, it's not worth the additional wait time.
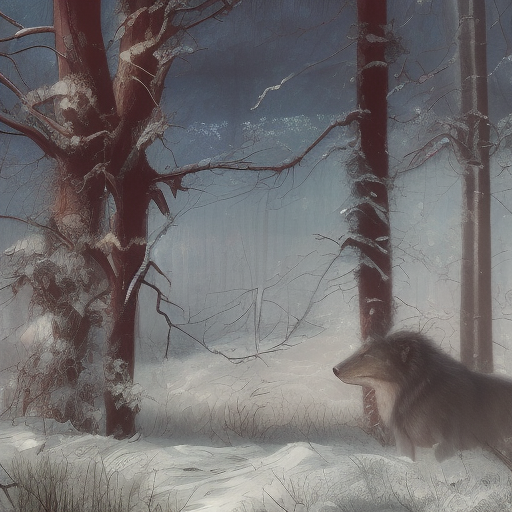
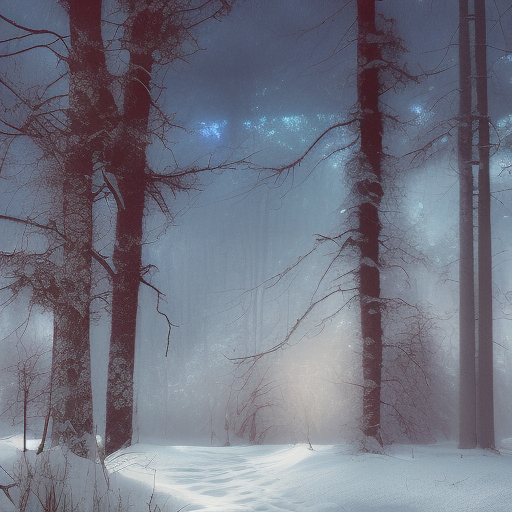
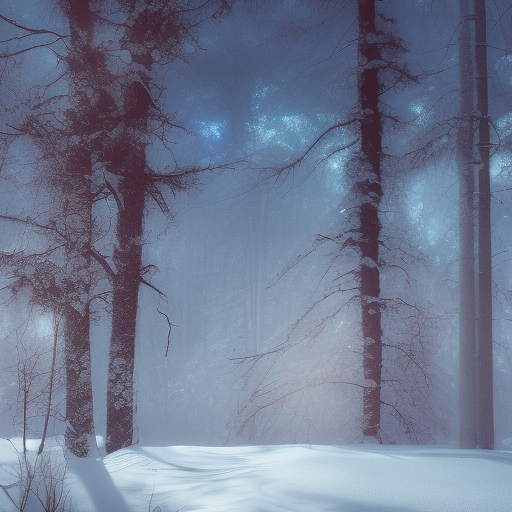
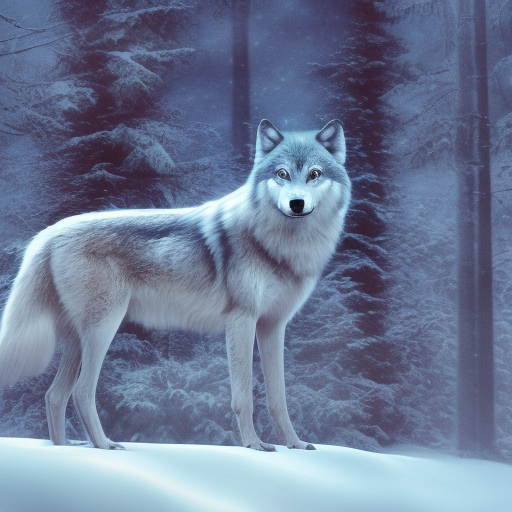
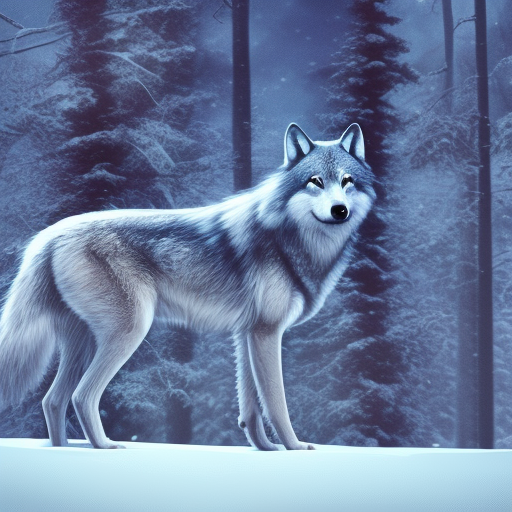
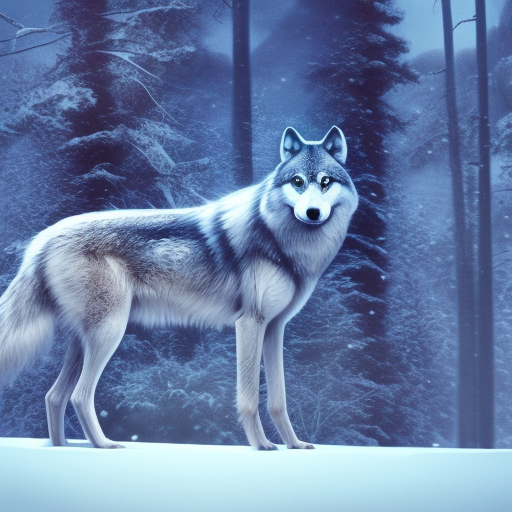
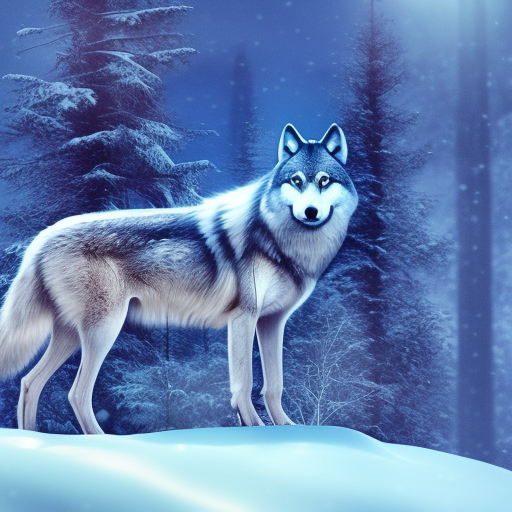
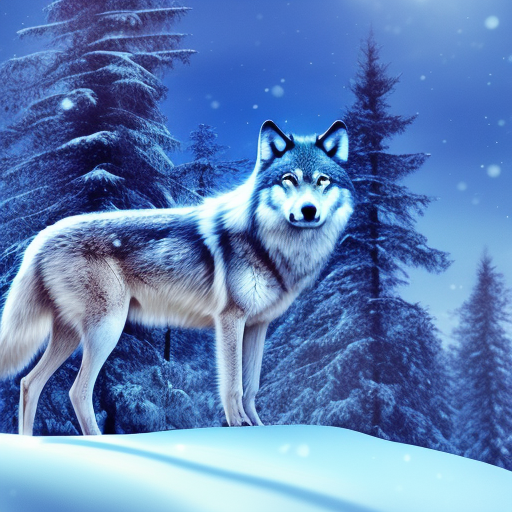
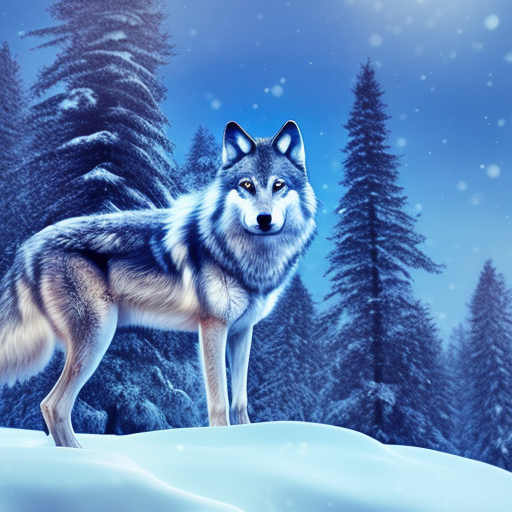
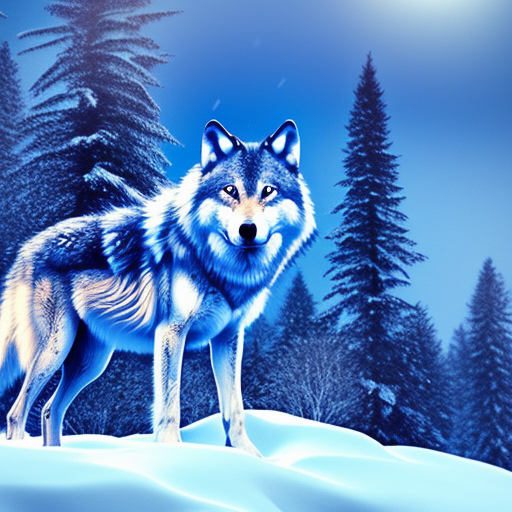
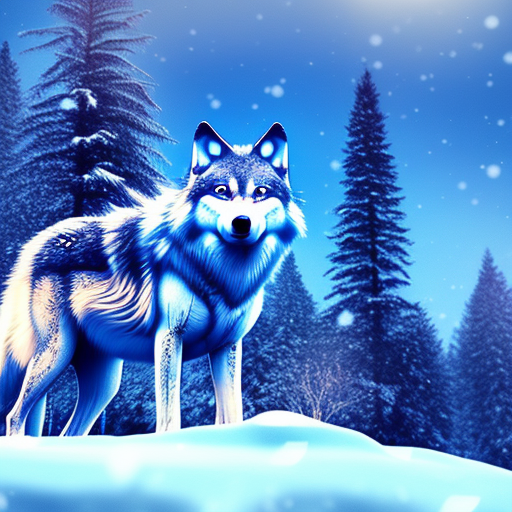
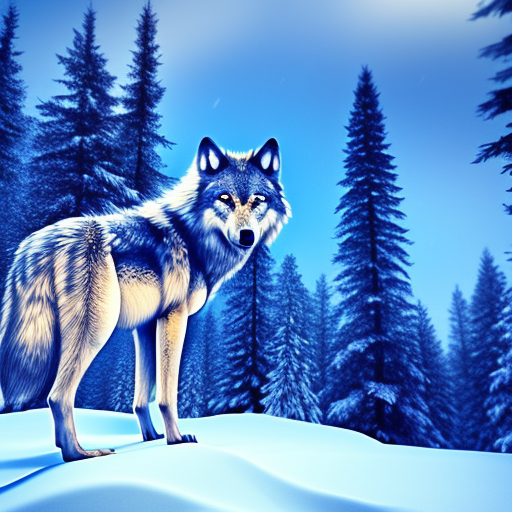
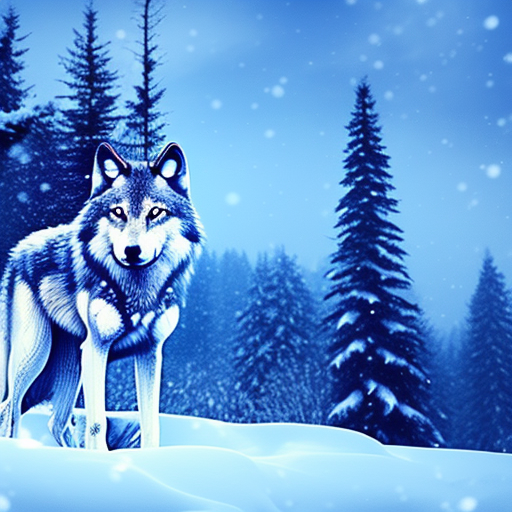
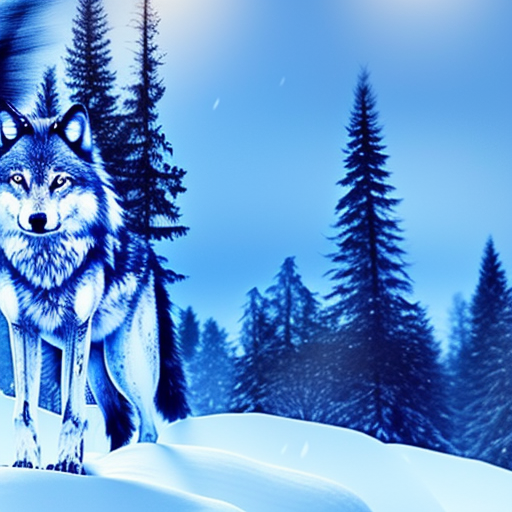
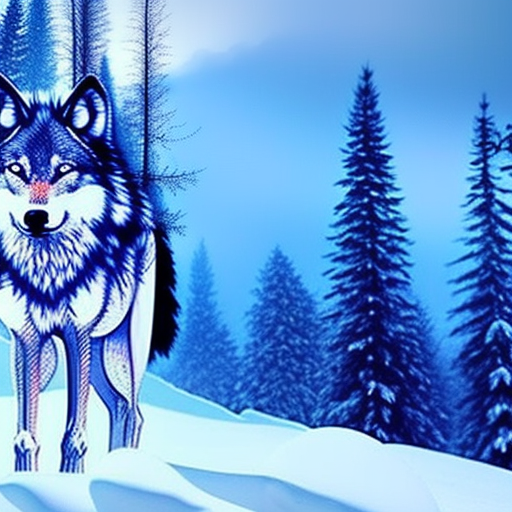
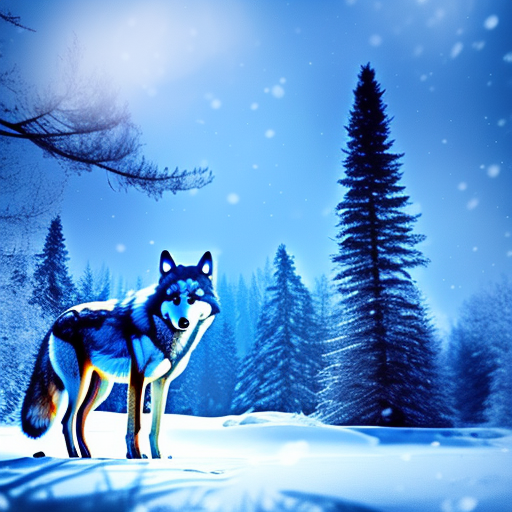
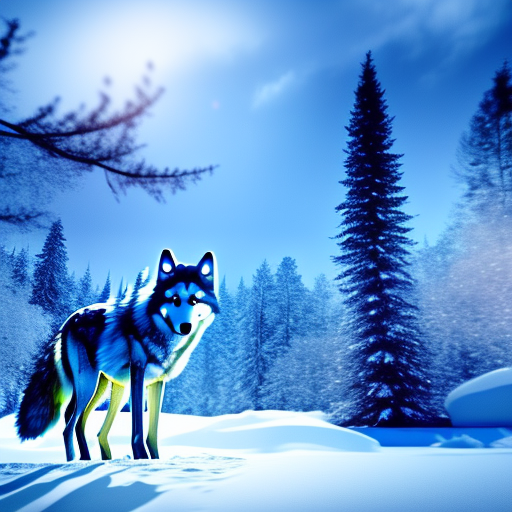
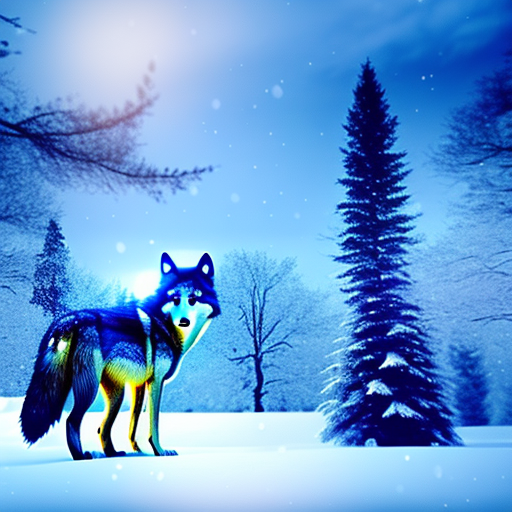
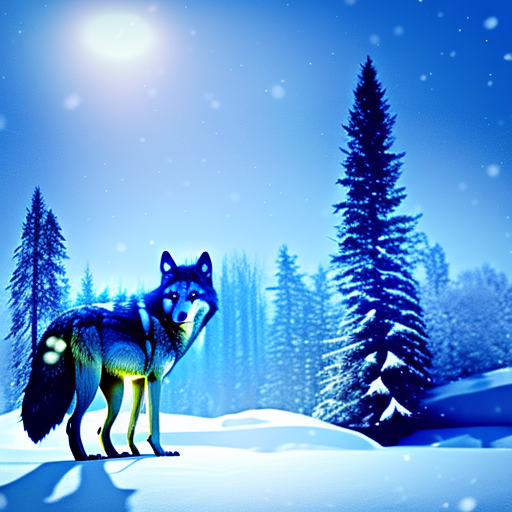
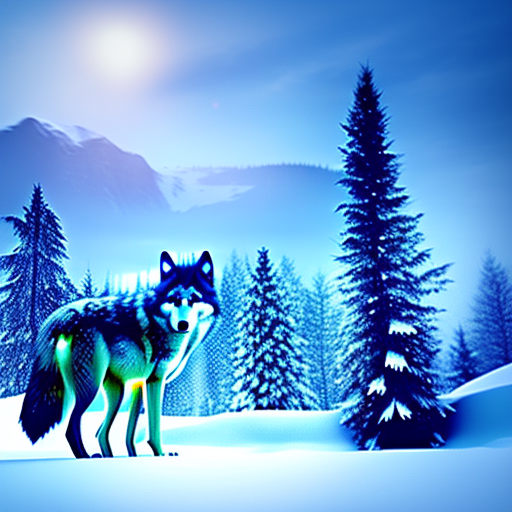
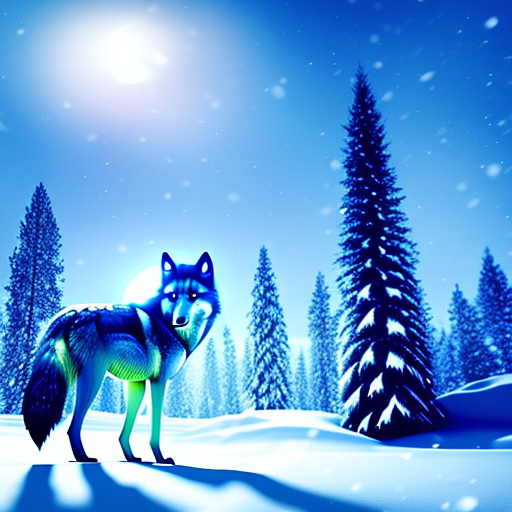
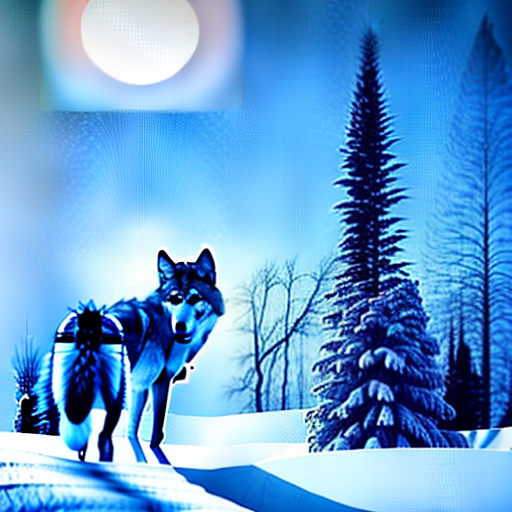
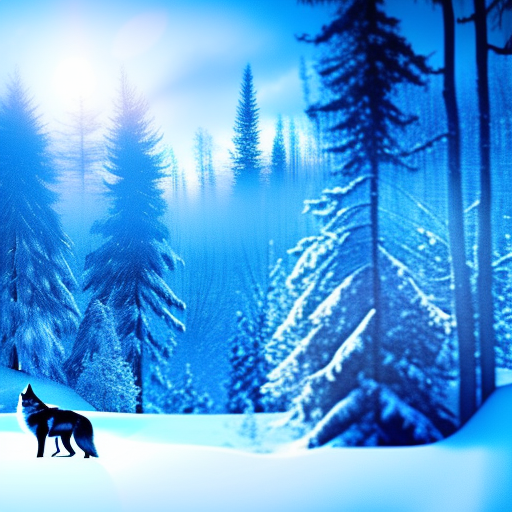
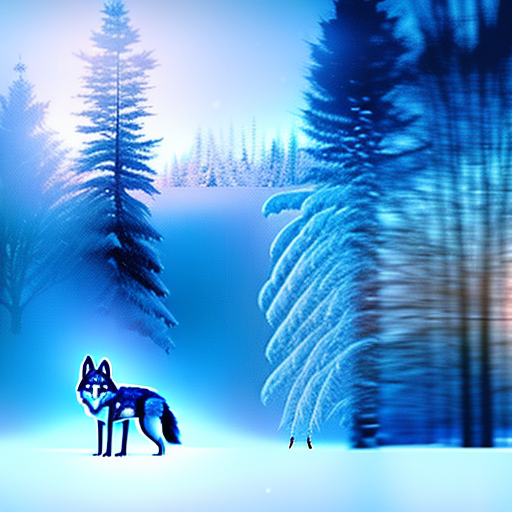
Below you can see single steps (1-40) used to generate a picture of the 'wolf in winter'.
"photograph of a wolf , in nature, background winter snow forest in the evening 4K, highly detailed, photo realistic"
Model: stable-diffusion v1.5, Seed : 2042719899, CFG Scale: 7
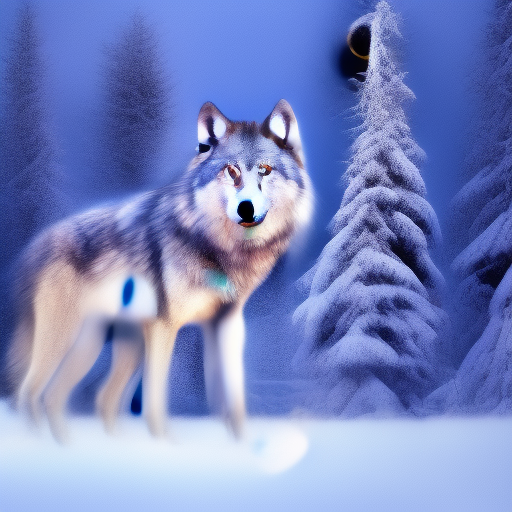
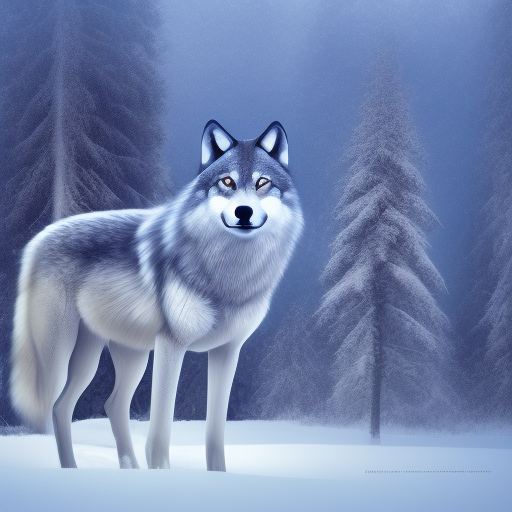
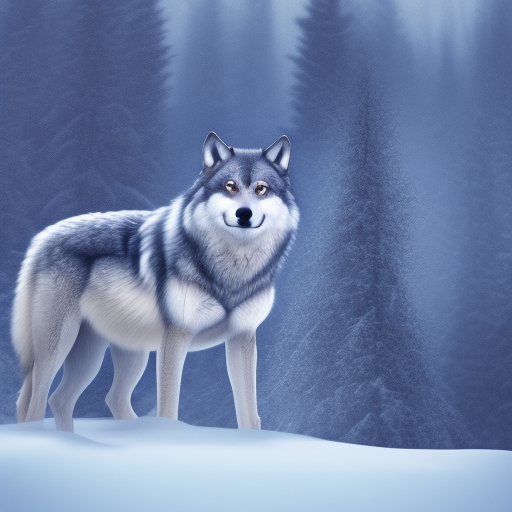
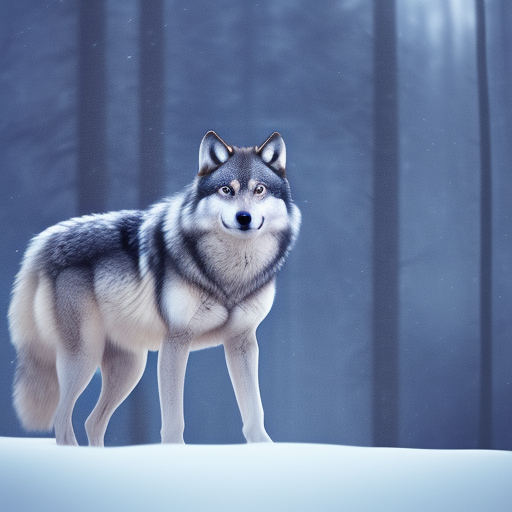
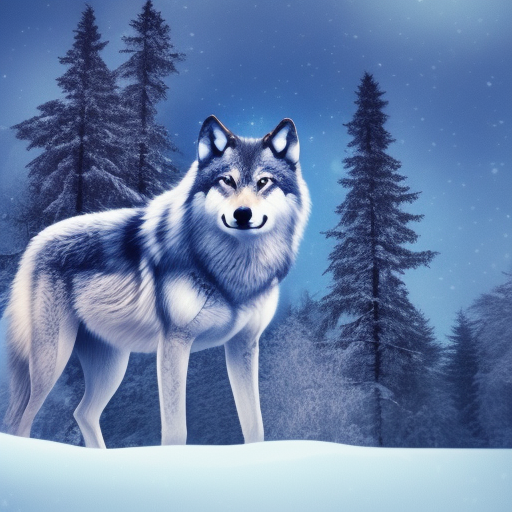
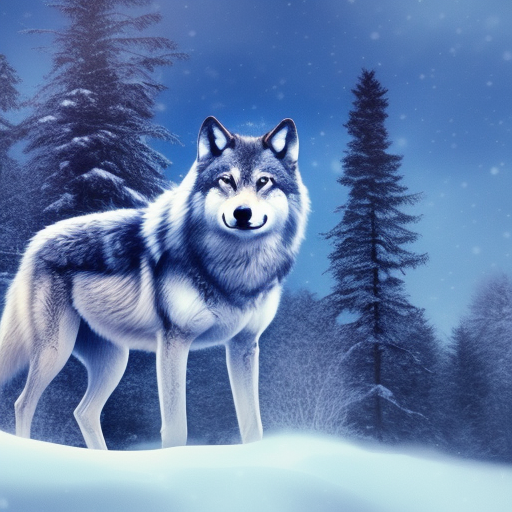


Note how the magic happens around steps 4-7, and the wolf emerges from the blob. Then it reaches high quality around 20-25 steps into the generation. Steps above 25 do not create a significant difference in quality; the wolf's form repeatedly changes without producing more details.
Guide to Stable Diffusion "guidance scale" parameter
How to use guidance scale in Stable Diffusion.
Simply put, the guidance scale (sometimes referred as cfg - classifier free guidance) is a parameter that controls how much the image generation process follows the text prompt. The higher the value, the more image sticks to a given text input.
But this does not mean that the value should always be set to maximum, as more guidance means less diversity and quality.
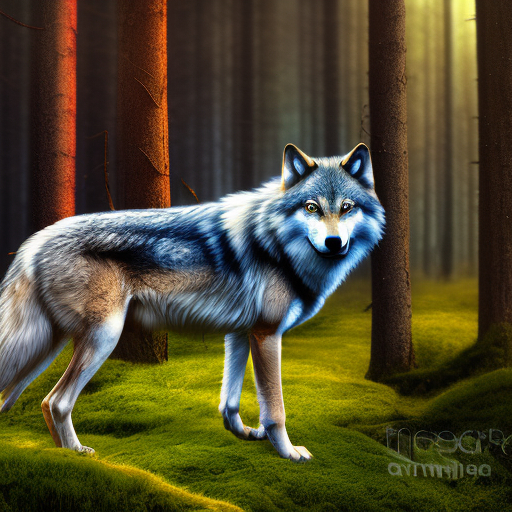
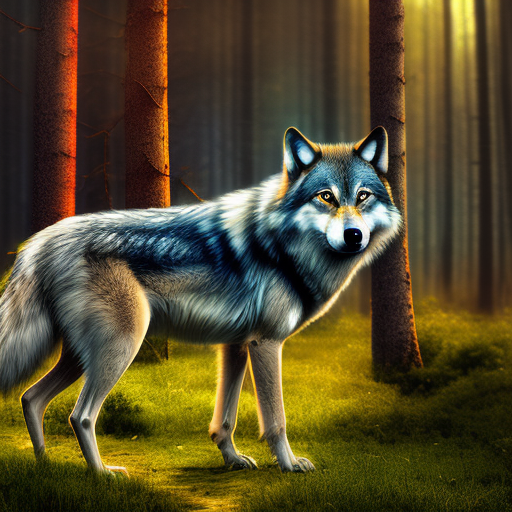
"photograph of a wolf , in nature, background winter snow forest in the evening 4K, highly detailed, photo realistic"
Model: stable-diffusion v1.5, Seed : 2042719899, CFG Scale: 7, Step: 40

Note how the magic happens around steps 4-7, and the wolf emerges from the blob. Then it reaches high quality around 20-25 steps into the generation. Steps above 25 do not create a significant difference in quality; the wolf's form repeatedly changes without producing more details.
Guide to using "seed" parameter
What is a seed in stable diffusion, and how to use it?
Seed in Stable Diffusion is a number used to initialize the generation. No need to come up with the number yourself, as it is randomly generated when not specified. But controlling the seed can help you generate reproducible images, experiment with other parameters, or prompt variations.
The most important thing about seed is that generations with the same parameters, prompt, and seed will produce precisely the same images. Thanks to that, we can generate multiple similar variations of the picture. Let's look up some examples.
With this base prompt: 'photograph of a wolf' and seed of 2042719899, we can modify generated images by changing words in prompts.
"photograph of a wolf , in nature, background(spring | summer | autumn | winter)forest in the evening 4K, highly detailed, photo realistic"
Model: stable-diffusion v1.5, Seed : 2042719899, CFG Scale: 7, Step: 40
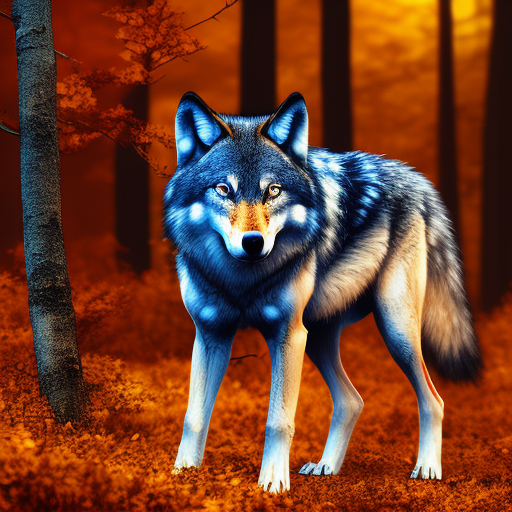
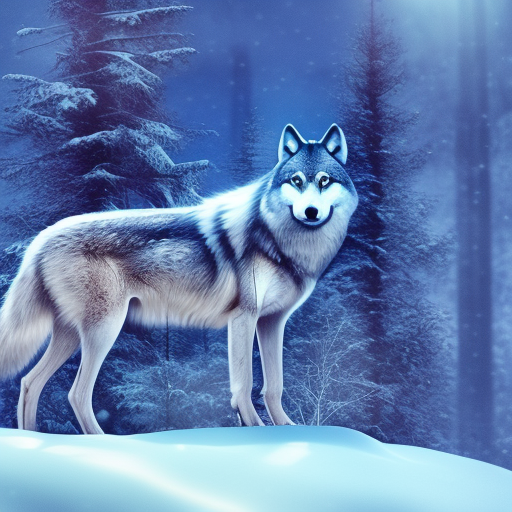
As we see, changing just one word which defines season changes while maintaining the rest of the visual features wolf, forest and background.
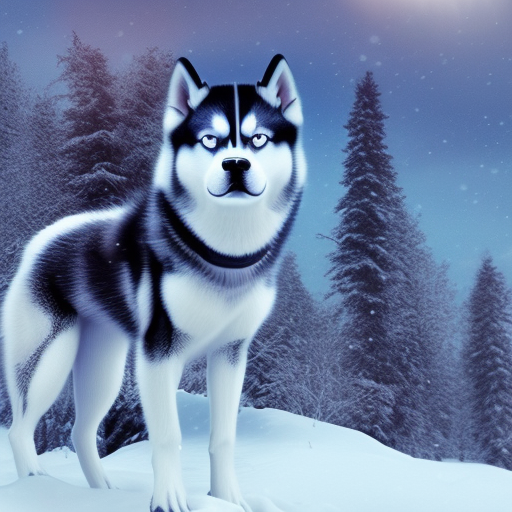
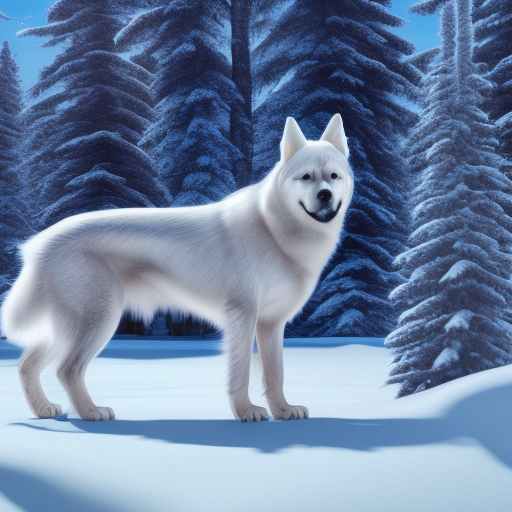
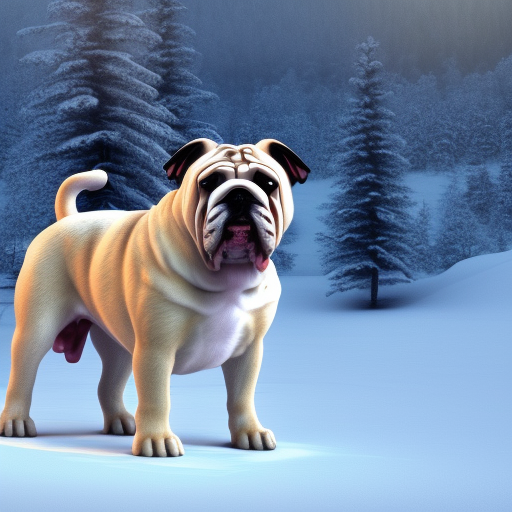
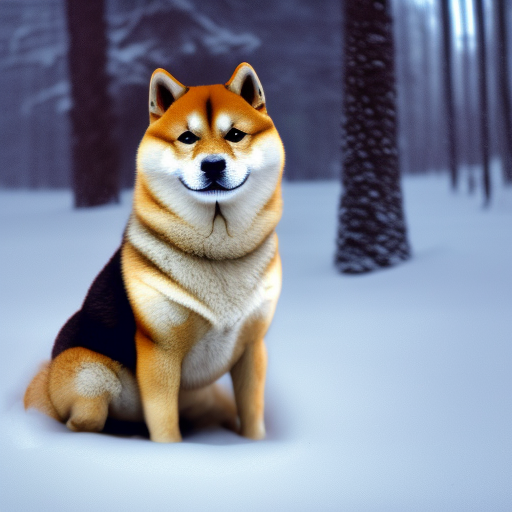
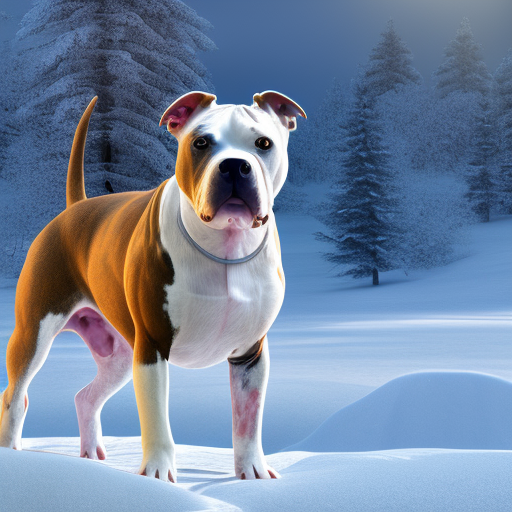
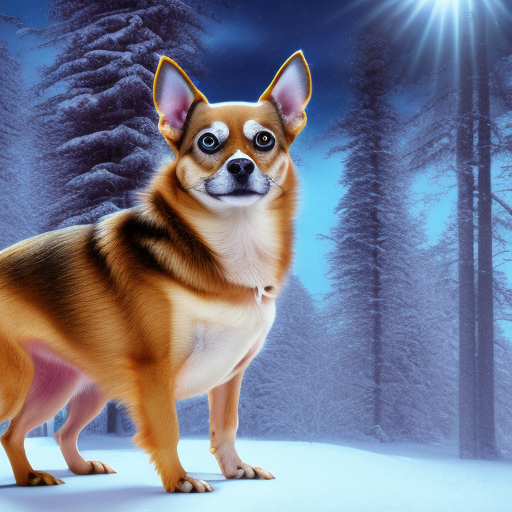
We can take it further and use the same seed value to change the wolf. So, for example, we can generate a difference kind of 'dog'.
"photograph of a(Husky | Alaska | BullDog | Shiba Inu | Pit Bull | Chihuahua), in nature, background winter snow forest in the evening 4K, highly detailed, photo realistic"
Model: stable-diffusion v1.5, Seed : 2042719899, CFG Scale: 7, Step: 40
That's all there is to it! You now have a good understanding of the main important configurations in Stable Diffusion, and you're ready to start creating your own images. In the future, we'll be publishing guides on more advanced topics, such as inpainting editing, ControlNet, and using model checkpoints. Stay tuned for those, and happy creating!